How to create a pixel quilt block
Note: This tutorial relates to patterns purchased prior to February 2015. Since then we have changed our cutting approach in patterns so that this tutorial is not quite accurate for newer patterns. A new tutorial will be put up as soon as possible. Thank you!!
If you have purchased a YouPatch pixel quilt pattern and would like a bit of help assembling your blocks, here is a tutorial for you!
The first thing you need to do is organize all your cut pieces. I like to keep mine in those little plastic zip-lock bags so I can easily find them when I need them.
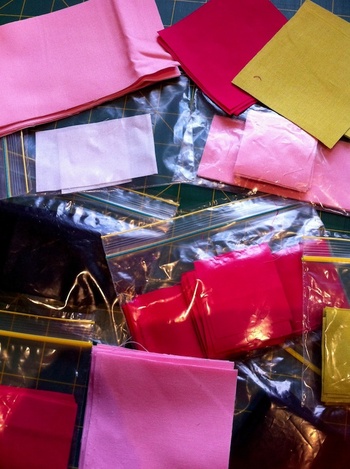
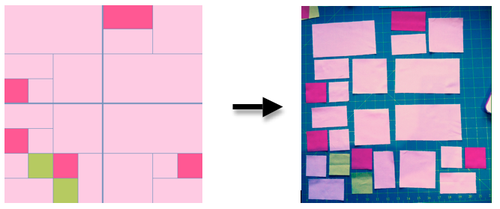
Once you have all your fabric cut and organized, select and lay out the pieces you need for your block.
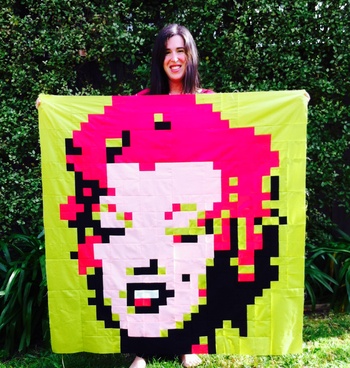
This is block B2 from the Marilyn Monroe pattern.
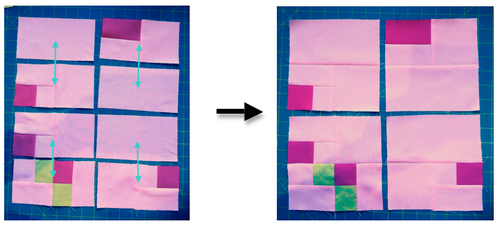
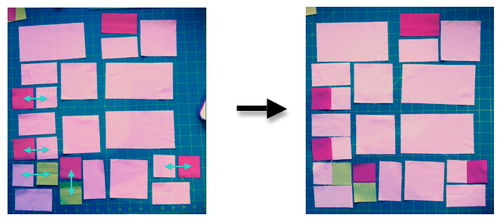
The first stitching you need to do is sew the smallest squares into pairs to create the smallest rectangle shape.
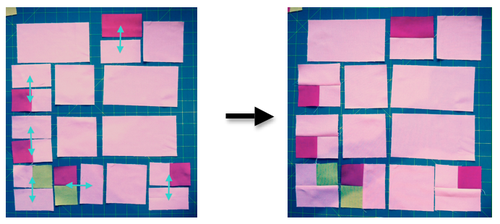
Now sew the smallest rectangles together to create squares
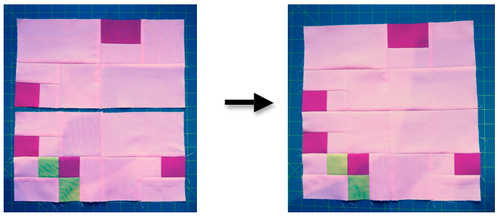
Next we need to create 8 rectangles
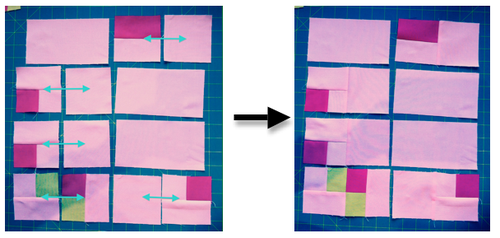
Getting the idea? Can you see what comes next?